Loading...
bloggingMaking money onlinePassive income

How to set up a blog for free

People are looking to make money online and blogging is one of the best ways to make money through the internet. This a guide on how to setup a blog for free, this guide is aimed at South African bloggers. You can also set up a business website using this guide.

There are many reasons why people would set up a blog, you can set up a blog because you want to raise support or awareness about a cause, or to earn money from providing useful information or to get more clients or customers for your business.

Getting someone to design a blog for you may be costly and out of your budget. You don’t need to have any prior experience of web design in order to follow this tutorial. Here is what you need to do to set up a blog in South Africa.

1. Get a domain and hosting

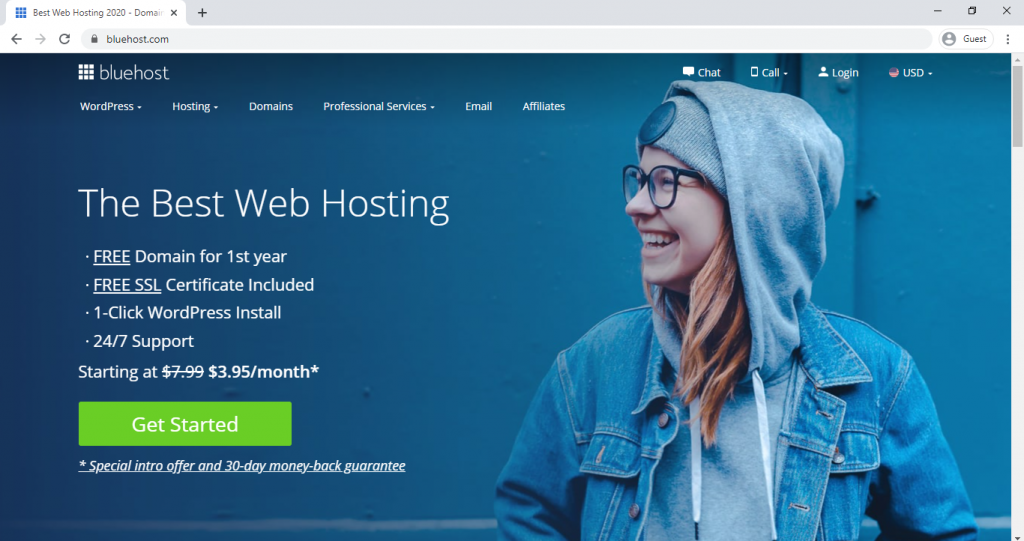
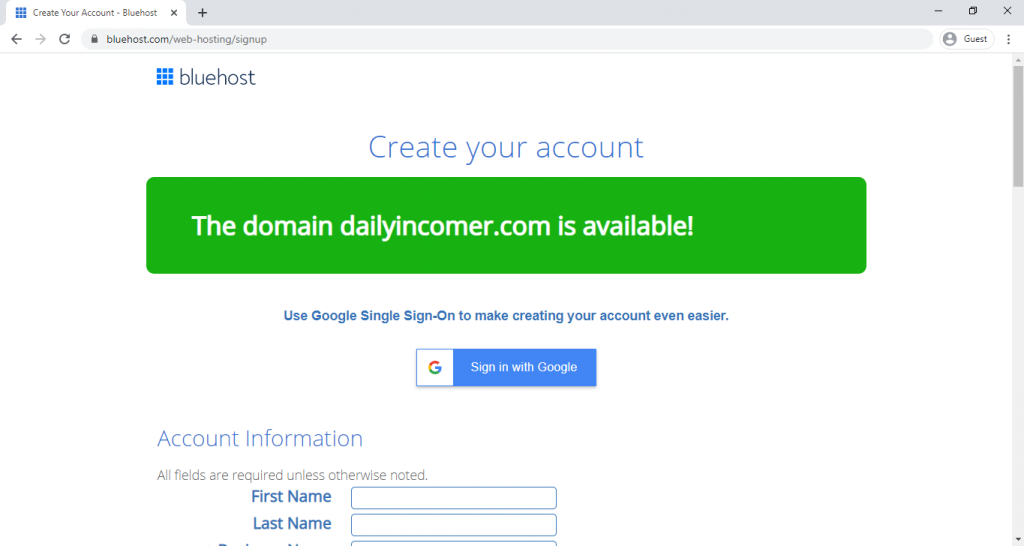
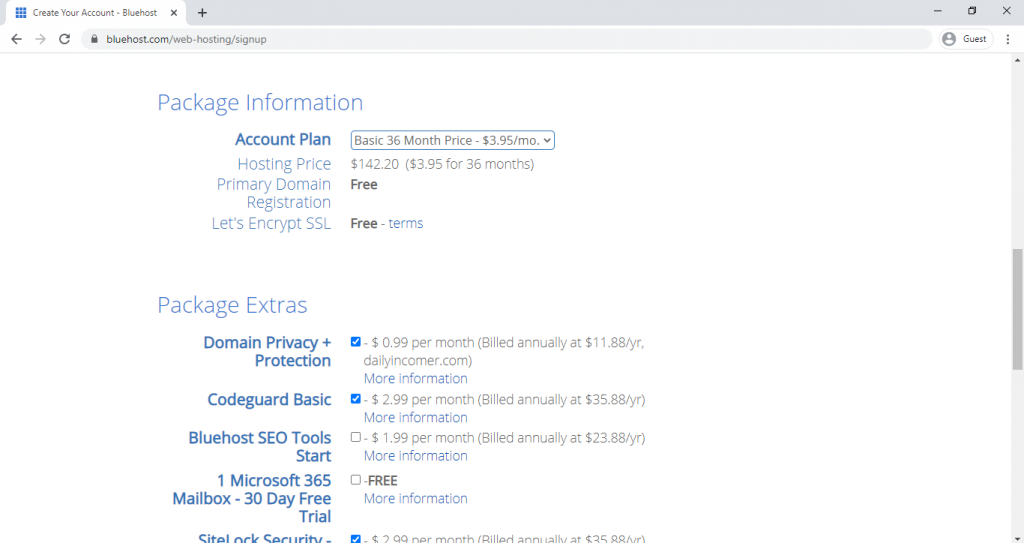
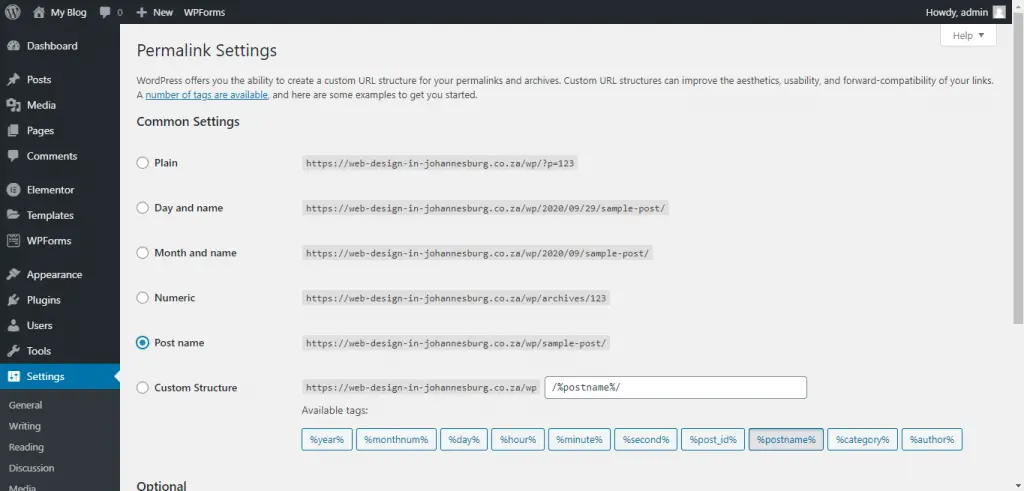
A domain is basically your web address, the domain of this website is dailyincome.co.za, it’s the URL people type in their browser to be able to access your website. Domain names range from R70 to R1 000, domains with the co.za extension are usually R70, domains with the .com extension are R250.

Hosting is what you will need to keep your website running day and night, a website has to be stored somewhere on a supercomputer, this computer doesn’t fail or run out of battery or even overheat, there are people working day and night making sure that the computer is in a good condition. We lease space on their computers to be able to keep our websites running. Hosting costs anywhere between R40 and R300 per month for normal blogs.

These are costs that you can’t avoid, you have to pay for a domain and hosting, you can avoid the cost of hiring a web designer.

You also need hosting to be able to send and receive emails. We strongly recommend using Bluehost for your website. They are very good and reliable. Click on this link, it will take you to a page that is similar to the image below.

  • Click on the Get Started button, it will take you to a page that is similar to the image displayed below. Choose the first hosting package, it is incredibly cheap and generous, you would not normally get 50 GB SSD Storage for that price, you normally get 1 GB.
  • Click on “Select” on the “basic option” and it will take you to a page similar to the image displayed below. You get a free domain for one year when you host with Bluehost. Enter your preferred domain name and click next.
  • It may happen that your preferred domain name is already taken. If your domain is taken you will be directed to a page similar to the one displayed below. This simply means that someone beat you into buying that domain, choose another domain name.
  • If your domain is available then you will be redirected to a page that is similar to the one displayed below. You can choose to fill in your account information manually or log in with Google. Google will make it easier to log in to your Bluehost account in case you forget your pin. You still need to fill in other information manually like your residential address
  • Below is the image of the package information, you can choose to host for 36 months, 24 months or 12 months. This will depend on your budget, choose the 12 months option if you have less than R1 000.
  • Unselect everything on the package extras section. They are basically trying to sell you other products, you can choose to keep some of them if you can afford to. But it’s not necessary for you to have the extras in order to run your blog.
  • Enter your payment information and click on submit.

Congratulations, you now have a domain and hosting, we are now not very far from creating your blog website.

2. WordPress Installation

We now have to install WordPress; this is a blogging platform that we will use for your website. WordPress is free to use.

3. Setting up your website

There are different steps that we will take in setting up your website. WordPress basically runs on themes, there are hundreds of thousands of available WordPress themes. Some themes are made for business websites, while other themes are made for bloggers and news magazines.

For this tutorial we are going to use OceanWP, this is one of the best WordPress themes out there. It comes with free templates and premium templates. The free templates are one of the best website templates and are enough to power any business website or blog.

This is how your dashboard should look more or less. You can remove all the notifications by clicking on “screen options at the top right corner and deselecting all the notifications you don’t want on your dashboard. 

Click on your site title at the top left corner. My site title is currently “My Blog”.

Default theme

If you clicked on your site title then it should take you directly to your website, which is currently like the image shown below. That is the default WordPress theme, you can use it to run your blog but I don’t recommend that.

Congratulations, you have a website that is up and running. But we now need to style it a bit so that it looks more presentable. From this screen, you can see that the top navigation bar has the “customize link”. Let’s click on it and explore how it works. It should take you to a page that is similar to the image below

Customizer

These are all the settings that you find on the customizer, as the name suggests, this panel allows you to customize your blog to how you want it to look.

Site Identity

Under site identity you have an option to place a logo for your website, change your site title and tagline. The good thing is that the changes will be happening “live” this allows you to experiment and see exactly how your site is affected.

Colors

The colors panel allows you to choose the primary colours for your website. As you can see, the primary colour is pinkish. You can change that to blue or any other colour.

Background Image

If you want your whole website to have a background image then you can enter it in this panel. I would not advise you to do that though.

Homepage settings

The homepage settings panel allows you to choose on whether you want to make a static homepage or just let every post that you make appear first on the homepage. A static page doesn’t change, you design it and it stays like that.

Additional CSS

This is for people who have some knowledge on web development. You might not like some of the theme settings and styling. You can override that using the additional CSS feature which allows you to add your own custom CSS.

Click on publish if you have made any changes that you would like to save. Then click on the “close icon” marked with an X on the top left.

4. Adding OceanWp

This is how your website is supposed to show if you chose the static homepage option and if you chose the latest posts then it’s going to show like the first image under the “Default theme” heading. It doesn’t matter how it shows at this point.

Click on your site title again at the top left, next to the “customize” option. It will take you back to your dashboard.

Click on Appearance

Click on appearance on the left sidebar and click on “themes”.

Click on Add New

These are the default WordPress themes but we want to install OceanWp, click on Add New at the top left, right next to the search bar. After clicking on Add New you will see a page similar to the image below. 

If you have a custom theme then you can upload it using the “Upload Theme” option at the top left. But we are trying to install OceanWp and it is already available from our dashboard.

Search themes

Click on the search themes option and type “OceanWp”

Hover your mouse over the theme and click on Install. Which will install then show the activate button. Click on it.

click on activate

Your theme has been successfully activated.

Install ocean extra. click on “begin installing plugin”. Click on install on the next page and click on return to Dashboard when done.

You can click “Skip Setup”. Look on your sidebar navigation on your left. There is a Theme Panel option, hover over it and click on Install Demos.

Choose a template

We are designing a blog so we are going to choose the blogger template but if you are designing a business then you can choose a template that would be more suitable for a business. Similarly, if you want to make an eCommerce website then you can choose a template that is appropriate for that.

Click directly on the blogger template and you will get a popup similar to the one displayed on the image above. Click on Install now on the first 2 options and skip the “Get this Addon” option.

Click on Install this Demo and click on see results after the demo has been imported.

Setup complete

The demo has been imported successfully, you now have a complete live professional website. This is how your website should look. It’s a beautiful blog. Not much has to be done after this. We are almost there.

You can click around on your posts and see how they display.

5. Install Elementor

Elementor is a plugin that makes it easy to make web pages without any technical experience. We are going to use Elementor to write our blog posts. There is a default editor that comes with WordPress but it is a bit difficult to use.

6. Publish your first post

Go to your dashboard and hover over the Posts link on the left sidebar.

These are all the posts that came with the demo installation. A the very top you have an option to add a new post. You also have the filter option which allows you to filter posts by category, date or format. This is where all your blog posts will appear.

We have to delete all these posts, because they don’t make sense. 

  • Click on the title box, make sure it’s checked.
  • Then click on Bulk Actions.
  • Select “move to trash”.
  • Click on “Apply”.

Repeat the process if there are still posts that were not moved to the trash.

Make a new post

  • Click on Add New post.

This is where you make your blog posts. This article was made through the same process. 

  • Add title – is your blog title.
  • Visibility- you can set it to be private while still editing the post but make sure it’s on public when you want to publish your post, so that everyone can see it.
  • Categories – allows you to select the category that you want your post to be under.  You can add categories in your dashboard on the posts section.
  • The featured image is the image that appears on the blog post, always select a featured image. It also appears as a thumbnail.
  • The discussion section  allows you to turn off comments on your post.

Let’s make a post titled “How to make an egg”.

Write “How to make an egg” as your title and click on “Edit with Elementor” at the top.

This is how your post should look like. The elementor sidebar at the left side of the screen contains widgets that are draggable. At the bottom there is a section that says “Drag Widget here” you can drag any of those widgets there and they will appear on the screen.

  • Let’s drag the  text editor widget.
  • Then the heading widget
  • And the image widget.

You can edit all these widgets to make your post. Here is a more detailed video below.

And just like that, you have successfully created a blog post. 

Congratulations

We have successfully created a WordPress blog. Add more posts.

Conclusion

It took a lot of days for me to create this post. There are a few things that I left out or didn’t go into much detail about.

Here are some of them.

  • Permalinks – permalinks are basically your post url, the default permalink on WordPress uses a date. This is not good for SEO. You have to set it to use Post name. You can do that from your dashboard in settings under the permalinks section. The default is “Day and Name” make sure it’s set to “Post Name” like the image below. Then click on save changes.

Everything can be edited from your dashboard, play around with your dashboard to discover more settings and use Google to find out more things. If you have any thoughts or questions please comment below. I will always be available to answer.

Leave a Reply

Your email address will not be published.